Mac Developer Productivity: Keyboard Shortcuts 2026 - SnapHotkey
Mac developer productivity keyboard shortcuts 2026: reduce context switching with a tiered system — hotkeys first, window layout second, Spaces third.
Gloria Mark at UC Irvine spent years measuring what happens after an interruption. Her finding: it takes an average of 23 minutes and 15 seconds to fully regain deep focus after being pulled away from a task. A separate analysis from Carnegie Mellon puts that number even higher for complex coding tasks — up to 45 minutes.
Now consider this: the average developer switches apps 12 to 15 times per day at minimum. And that’s major context switches — the small ones, bouncing between Terminal and VS Code and Chrome and Slack, happen dozens of times per hour.
You don’t need a focus app. You don’t need a new productivity system. The highest-leverage move for mac developer productivity in 2026 is eliminating the mechanical friction of app switching — and the answer is dedicated keyboard shortcuts.
This is a practical guide to mac developer productivity keyboard shortcuts in 2026, built around one core principle: fix app switching first, then layer everything else on top.
Why App Switching Is Your #1 Mac Developer Productivity Win in 2026
Most developer productivity guides jump straight to recommending Raycast, Alfred, or some elaborate dotfile setup. That advice is fine, but it skips the foundation.
Before you can benefit from faster command execution or smarter search, you need to be able to get to the right app instantly. Every second you spend cycling through Cmd+Tab or hunting for the Terminal window you just had open is a mechanical interruption layered on top of the cognitive one.
The order matters:
- Fix app switching — dedicated hotkeys per app, no cycling
- Add window layout control — put apps where you expect them
- Set up Spaces if needed — for truly separate context groups
Most developers invert this. They spend hours configuring Raycast workflows, then still reach for Cmd+Tab twenty times an hour because they never fixed the physical navigation layer.
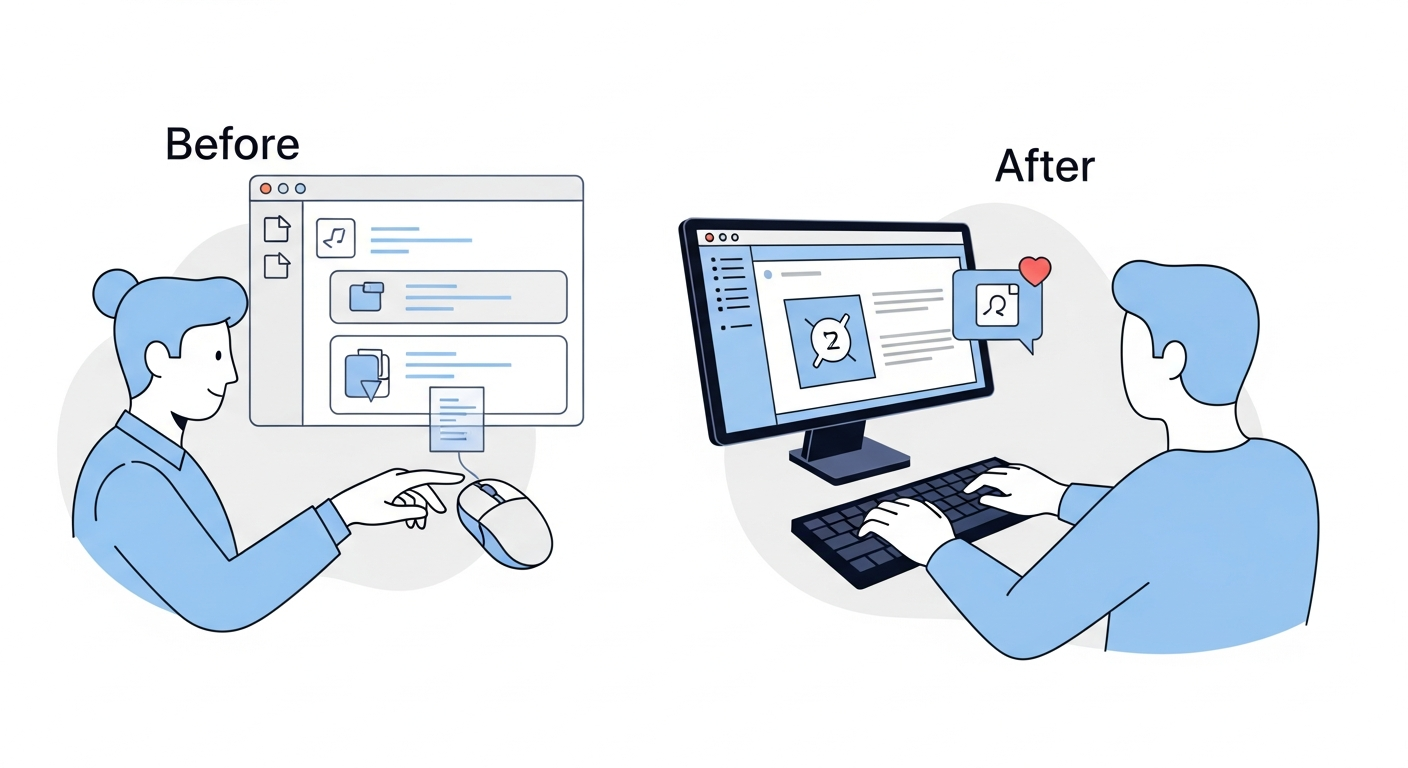
The Before/After: A Developer’s Morning
Here’s what a typical developer morning looks like with Cmd+Tab cycling versus a hotkey-based setup.
| Action | Cmd+Tab workflow | Hotkey workflow |
|---|---|---|
| Open IDE after boot | Dock click or Spotlight | Left Cmd+1 |
| Check terminal output | Cmd+Tab twice (maybe) | Left Cmd+2 |
| Jump to Chrome for docs | Cmd+Tab scan + click | Left Cmd+3 |
| Glance at Slack thread | Cmd+Tab × 3-4 presses | Left Cmd+4 |
| Back to IDE | Cmd+Tab × 3-4 presses | Left Cmd+1 |
| New Terminal window needed | Cmd+Tab, then Cmd+~ cycle | Left Cmd+2 again (cycles windows) |
| Hide Slack when done | Cmd+H or Dock click | Left Cmd+4 again (toggle hide) |
The hotkey workflow isn’t just faster. It’s automatic. There’s no visual scanning, no counting keypresses, no recalibrating because the MRU order shifted again. After about three days, Left Cmd+2 for Terminal is as thoughtless as Cmd+C for copy.
Over a full workday — 400+ app switches — the difference between “scan and cycle” and “press one key, arrive” compounds into hours of undivided focus time.
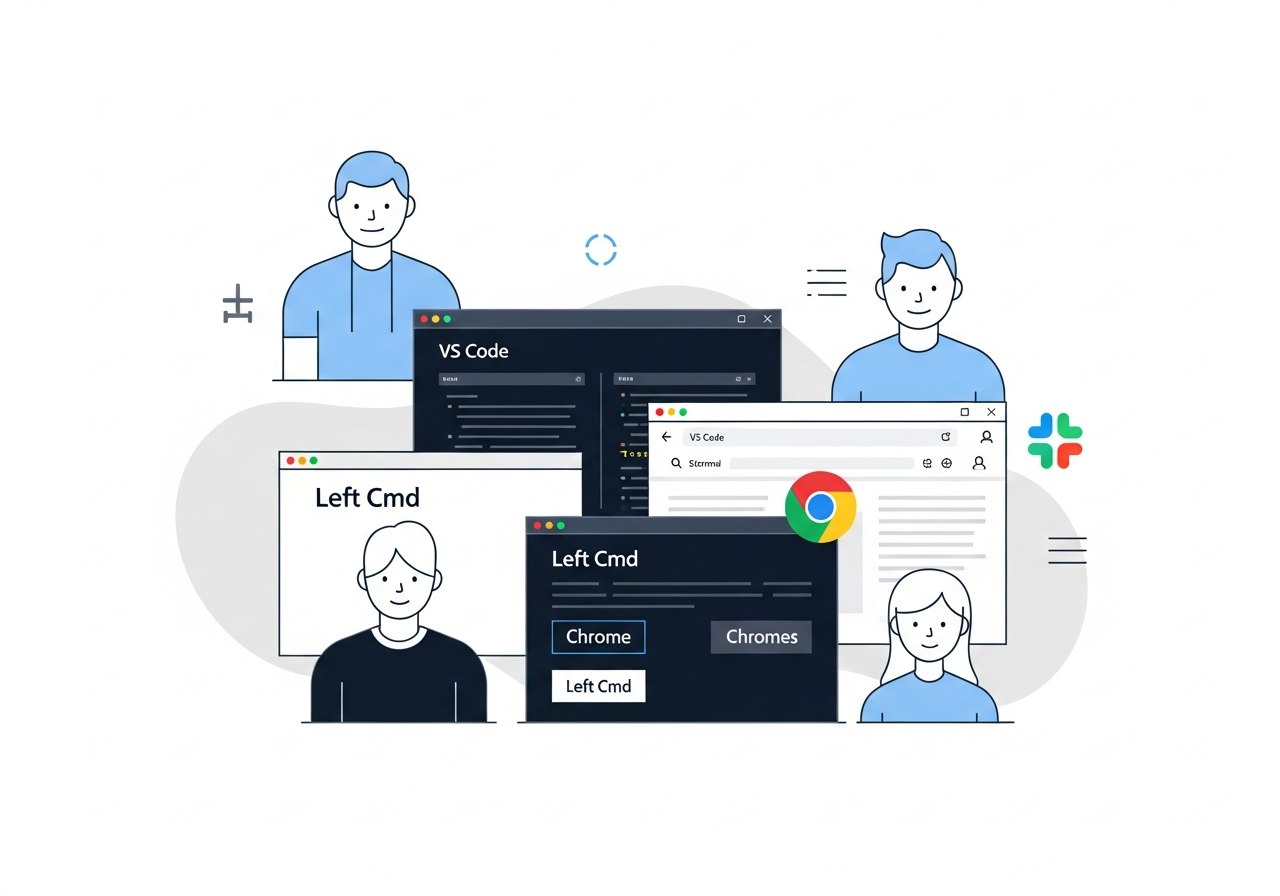
Step 1: Mac Developer Keyboard Shortcuts for Instant App Switching
This is the single highest-leverage change you can make to your Mac developer workflow. Assign one shortcut to each of your core apps. Press it once. Arrive instantly.
The approach that requires the least setup and delivers the most reliable result in 2026 is a dedicated hotkey-to-app mapper.
What the Options Look Like
Karabiner-Elements (free) is the technically correct answer if you want maximum control. It can distinguish Left Cmd from Right Cmd at the driver level, remap any key combination, and trigger app-switching via Hammerspoon or shell scripts. The cost is real: you’ll write JSON config files for Karabiner and Lua scripts for Hammerspoon. Major macOS updates sometimes break Karabiner for weeks. Multi-window cycling and toggle show/hide require per-app scripting blocks that accumulate into hundreds of lines of config.
If you enjoy maintaining dotfiles as a hobby, this is a legitimate path. If you want fast app switching without becoming a keyboard-config maintainer, it’s overkill.
AltTab (free) gives you Windows-style Alt+Tab behavior with window previews. It’s excellent at what it does. But it’s still a cycling paradigm — you invoke a switcher, scan for the window you want, and select it. The workflow is: trigger → scan → choose. That’s three cognitive steps.
Direct hotkey access collapses those three steps into one: press Left Cmd+2, you’re in Terminal. No scanning.
SnapHotkey ($9.99 one-time) is built specifically for this layer. You open the GUI, click “Add Rule,” record a shortcut, pick an app, and you’re done. No JSON, no Lua, no command palette. Press Left Cmd+2 and you’re in Terminal. Press it again while Terminal is frontmost and it cycles to your next Terminal window. Press Left Cmd+4 to show Slack, press it again to hide it.
The Left Cmd vs Right Cmd distinction — which SnapHotkey reads from raw hardware events — means your entire Left Cmd+1 through Left Cmd+9 namespace is available for app switching without conflicting with a single standard macOS shortcut. For more on why this distinction matters technically, see Left Command vs Right Command: The Shortcut Layer Most Developers Never Use.
At $9.99 one-time versus subscription tools in this space, the ROI is straightforward: if better app switching saves you 5 minutes per workday (a conservative estimate), that’s 20+ hours per year. The breakeven is day one.
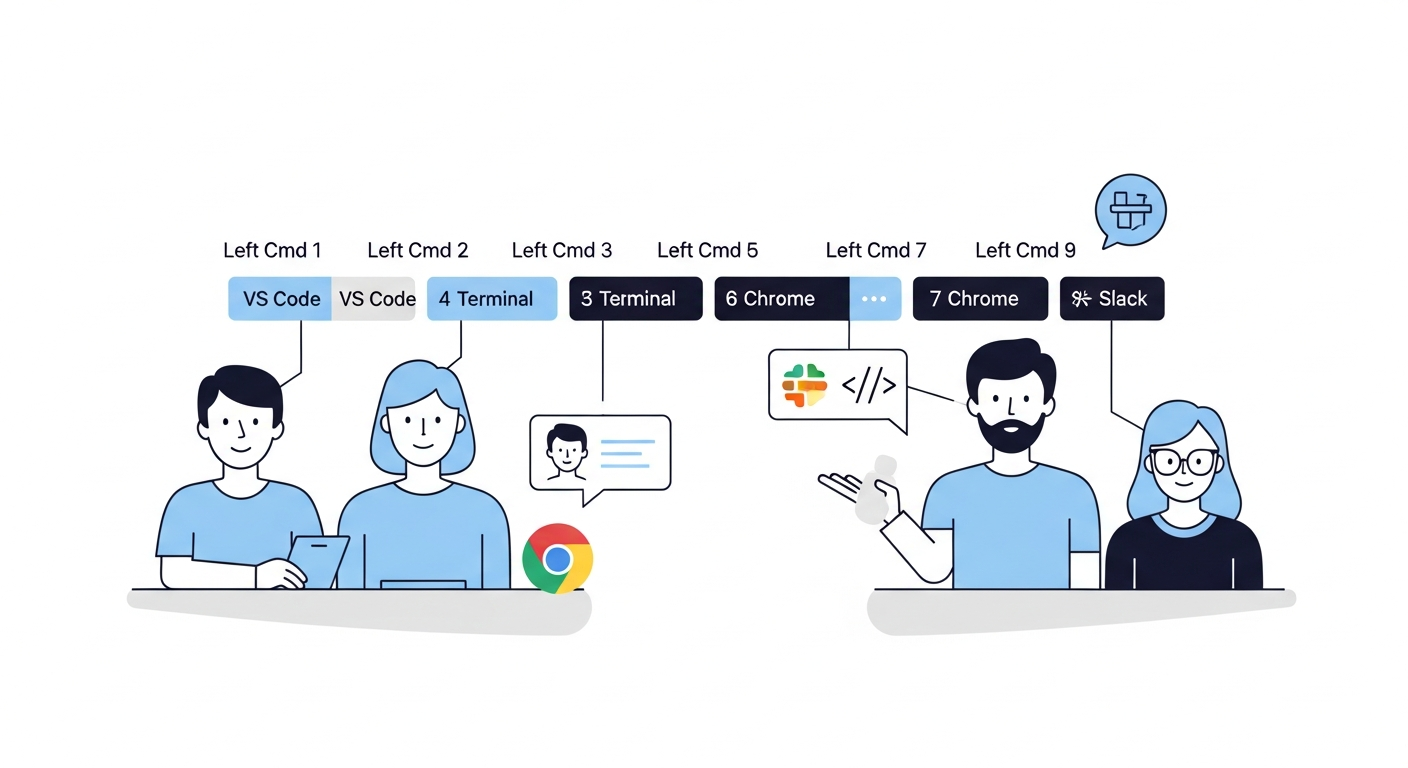
A Concrete Shortcut Mapping
Here’s the setup that works well for full-stack development. Order by frequency of use, not alphabetical.
| Shortcut | App | Notes |
|---|---|---|
Left Cmd+1 | VS Code | Primary IDE |
Left Cmd+2 | iTerm2 / Terminal | Multiple windows, cycles on repeat |
Left Cmd+3 | Chrome | Docs, localhost, PR reviews |
Left Cmd+4 | Slack | Toggle hide when done reading |
Left Cmd+5 | Finder | File management |
Left Cmd+6 | Obsidian / Notes | Notes and documentation |
Left Cmd+7 | TablePlus | Database client |
Left Cmd+8 | Postman | API testing |
The numbering reflects how often you touch each app, not its name. Your most-switched app (Left Cmd+1) requires the least finger travel. You only configure this once. The side effect: once your core apps are reachable by muscle memory, you’ll find yourself reaching for the mouse far less throughout the day — the keyboard shortcut layer effectively starts to eliminate mouse usage for app navigation.
For a deeper breakdown of why Cmd+Tab cycling undermines developer focus, and what all the switching alternatives look like side by side, see Stop Using Cmd+Tab: Better App Switching for Developers. If you want to understand how the hotkey layer fits alongside Raycast and AeroSpace in a full keyboard stack, Mac Developer Productivity: The App-Switching Keyboard Layer covers exactly that.
Step 2: Add Window Layout Control
Once your app switching is instant, the next friction is window placement. If Terminal is in a different position every session, your eyes and attention still have to locate it even after the hotkey lands you there.
The fix is a window manager that lets you snap windows to consistent positions with keyboard shortcuts. In 2026 there are three strong options at different points on the complexity spectrum.
Rectangle (free, rectangleapp.com) is the most-installed Mac window manager for a reason. It’s lightweight, requires no configuration beyond choosing your shortcuts, and covers every layout you’ll practically need: halves, thirds, quarters, maximize, center. Ctrl+Option+Left snaps a window to the left half. Ctrl+Option+Return maximizes it.
For developers who want to go further, Aerospace (free, tiling) brings a more structured i3-style tiling model to macOS. Windows are placed in a grid automatically, and you navigate between them with keyboard shortcuts. The tradeoff is a more opinionated workflow that takes longer to set up but eliminates manual window placement entirely.
BetterTouchTool ($14-24) can do window management alongside dozens of other input customizations. It’s powerful but expensive if you’re buying it only for window snapping. If you already have it for trackpad gestures or other purposes, the window management is a useful bonus.
Recommendation for most developers: start with Rectangle. It takes five minutes to install and configure, and covers everything most developers need. Move to Aerospace if you find yourself wanting fully automatic tiling.
Step 3: Use Spaces for Genuine Context Separation
macOS Spaces (virtual desktops) get recommended a lot and used poorly even more often.
Spaces are genuinely useful for one purpose: separating entire working contexts that you don’t want to see simultaneously. Work project on Space 1, personal project on Space 2, browser research on Space 3. When you switch spaces, all irrelevant windows disappear.
Where developers misuse Spaces is as a substitute for good window management. Putting each app on its own Space and using Ctrl+number to navigate defeats the purpose — you’re basically rebuilding Cmd+Tab cycling with a swipe animation.
The practical rule: use Spaces only when you need to suppress an entire category of windows from view. Use hotkey-to-app mapping for intra-context switching between the apps you’re actively working with.
If you’re running two separate projects simultaneously — say, a client project and a side project — Spaces make sense. Each Space gets its own VS Code, Terminal, and browser, and switching between them is a single gesture or shortcut. For remote workers managing multiple client contexts, see Mac App Switching Setup for Remote Workers for a Spaces configuration that actually holds up.
If you’re just doing normal development work, you don’t need Spaces. Better app switching and window layout control handle it.
What About Raycast and Alfred?
Raycast (free / Pro $8/month) is excellent at what it’s designed for: command palette operations, quick calculations, clipboard history, Snippets, and integration with dev tools like GitHub and Linear. Most developers I know use it for these cases and it earns its place.
Raycast does support per-app hotkeys through Settings → Extensions, but it’s not the best tool for this specific job. There’s no toggle show/hide, no same-app multi-window cycling, and no left/right modifier distinction. As a general launcher, Raycast is hard to beat. As a dedicated app-switching layer, there are better options. See Keyboard-Only App Switching Workflow on Mac for a direct comparison. For a broader guide to reducing mouse dependency across your whole workflow, Mouseless Mac Setup 2026 covers app switching, Vimium, and the rest of the keyboard-first stack.
Alfred (Powerpack ~$34) has similar strengths and similar gaps in the hotkey-per-app layer. If you’re already invested in Alfred Workflows for other automation, it’s worth checking whether its hotkey feature covers your needs before adding another tool.
The right mental model: launchers (Raycast, Alfred) handle doing things. Hotkey mappers handle being somewhere. They solve different problems and work well in parallel.
Putting It Together: The 30-Minute Setup
Here’s the complete setup sequence, in order, if you’re starting from scratch.
Minutes 1-10: App switching
- Download SnapHotkey and open it
- Add rules for your 5 most-used apps, mapped to
Left Cmd+1throughLeft Cmd+5 - Use only these shortcuts for those apps for the rest of the day — no
Cmd+Tabfallback
Minutes 10-20: Window layout
- Install Rectangle (free)
- Set your preferred shortcuts for left-half, right-half, and maximize
- Snap your core apps to their positions at the start of a work session
Minutes 20-30: Spaces (optional)
- Decide whether you actually need separate Spaces — most solo developers don’t
- If yes, create one Space per project context, not per app
- Assign hotkeys to switch spaces in System Settings → Keyboard → Shortcuts → Mission Control
That’s it. No dotfile archaeology, no Lua scripting, no JSON wrangling.
The Real Cost Is Attention, Not Time
The 23-minute recovery figure sounds extreme until you realize it’s not about the time it takes to click over to Terminal. It’s about the mental re-entry cost. Every time a mechanical friction causes a small interruption — hunting for the right window, cycling through apps — your working memory has to partially reset.
This is why optimizing app switching isn’t just a speed optimization. It’s an attention optimization. When app navigation is automatic — when the right app appears under your fingers without you thinking about it — you stay inside the problem you’re solving.
The tiered approach in this guide (app switching → window layout → Spaces) addresses these costs in order of impact. Fix the physical navigation layer first. The rest of your productivity tooling will work better on top of it.
Start with Stop Using Cmd+Tab if you want the full comparison of every app-switching method available on Mac. Or go directly to SnapHotkey — at $9.99 one-time, it’s the fastest way to test whether muscle-memory app switching changes how you work.
For the technical details on how left/right modifier key distinction works at the macOS API level, and which tools support it, see Left Command vs Right Command: The Shortcut Layer Most Developers Never Use.
Related reading:
- Best Mac Hotkey App Launchers Compared — every dedicated app switcher reviewed
- Karabiner & Hyper Key vs Dedicated App Switchers — DIY scripting vs purpose-built tools
- Mac Multi-Window Headache — handling apps with 3-5+ open windows
- Raycast Hotkeys vs Dedicated App Switcher — pairing the two for max productivity