Drop-Down Terminal on Mac: One Key to Summon Your Terminal - SnapHotkey
Get a Quake-style drop-down terminal on Mac in three steps. One key to toggle your terminal in and out — like Guake or Yakuake — with SnapHotkey. No scripting.
On Linux, your terminal was one key away. You pressed the key, it dropped down from the top of the screen. You pressed it again, it was gone. Guake on GNOME, Yakuake on KDE, Tilda if you rolled your own. You didn’t switch to the terminal — you summoned it.
Then you moved to a Mac, hit that key out of habit, and nothing happened. macOS has no built-in drop-down terminal.
Here’s how to get a drop-down terminal on Mac — one key to summon it, the same key to dismiss it — in three steps, no scripting.
What a Drop-Down Terminal Actually Is
A drop-down terminal — “Quake-style,” after the game console that popularized it — is a terminal you toggle with a single global hotkey instead of hunting for it in the Dock or cycling to it with Cmd+Tab. Guake, Yakuake, and Tilda all do the same core thing: tap a key, the terminal is there; tap it again, it’s gone and you’re back to whatever you were doing.
The slide-down animation is the part people remember. But it isn’t the part that matters. The thing your fingers actually miss is the toggle — one key, two directions, zero thought. That muscle-memory loop is what makes a drop-down terminal feel faster than every other way of reaching a shell.
macOS Doesn’t Ship a Drop-Down Terminal — Here’s the Fix
Terminal.app has no Quake mode. A couple of terminal emulators bake in their own version, but that only helps if you use that specific terminal — and it does nothing for the rest of your apps.
There’s a more general fix: SnapHotkey. It’s a Mac app that binds keyboard shortcuts to applications, and one of its per-rule behaviors is Toggle show/hide — press the hotkey to bring an app forward, press it again to hide it. Point that at your terminal and you’ve rebuilt the drop-down behavior on top of whatever terminal you already use. Point it at anything else and you get the same trick everywhere.
The icon says it all: a keycap with a lightning bolt. One key, instant. That’s the whole product.
Three steps.
Step 1: Install and Open Preferences
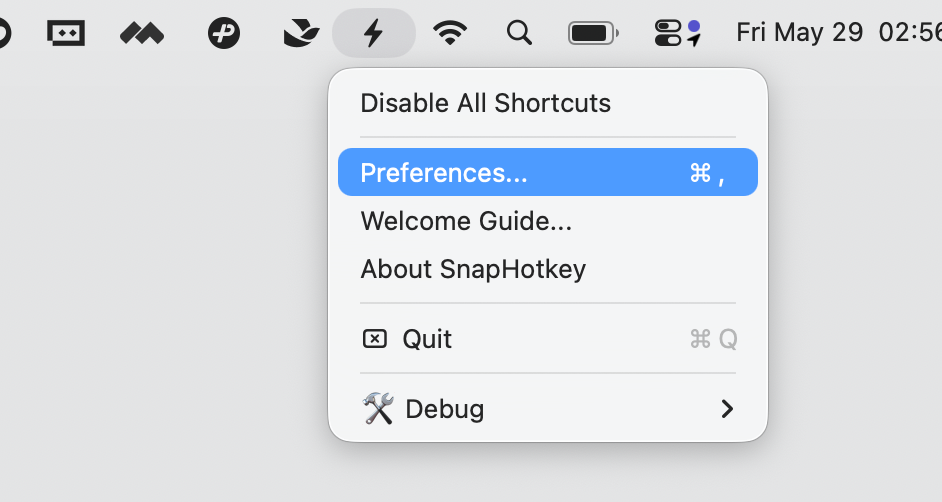
Download SnapHotkey from snaphotkey.com/en/download, drag it into your Applications folder, and launch it. A lightning-bolt icon appears in your menu bar — click it and choose Preferences…
On first launch, macOS asks for Accessibility permission. Any app that listens for global keyboard shortcuts needs it — grant access in System Settings → Privacy & Security → Accessibility.
Step 2: Map Your Terminal to One Key
In the Shortcut Rules tab, click the + at the bottom-left and type the name of your terminal. I’m using the built-in Terminal.
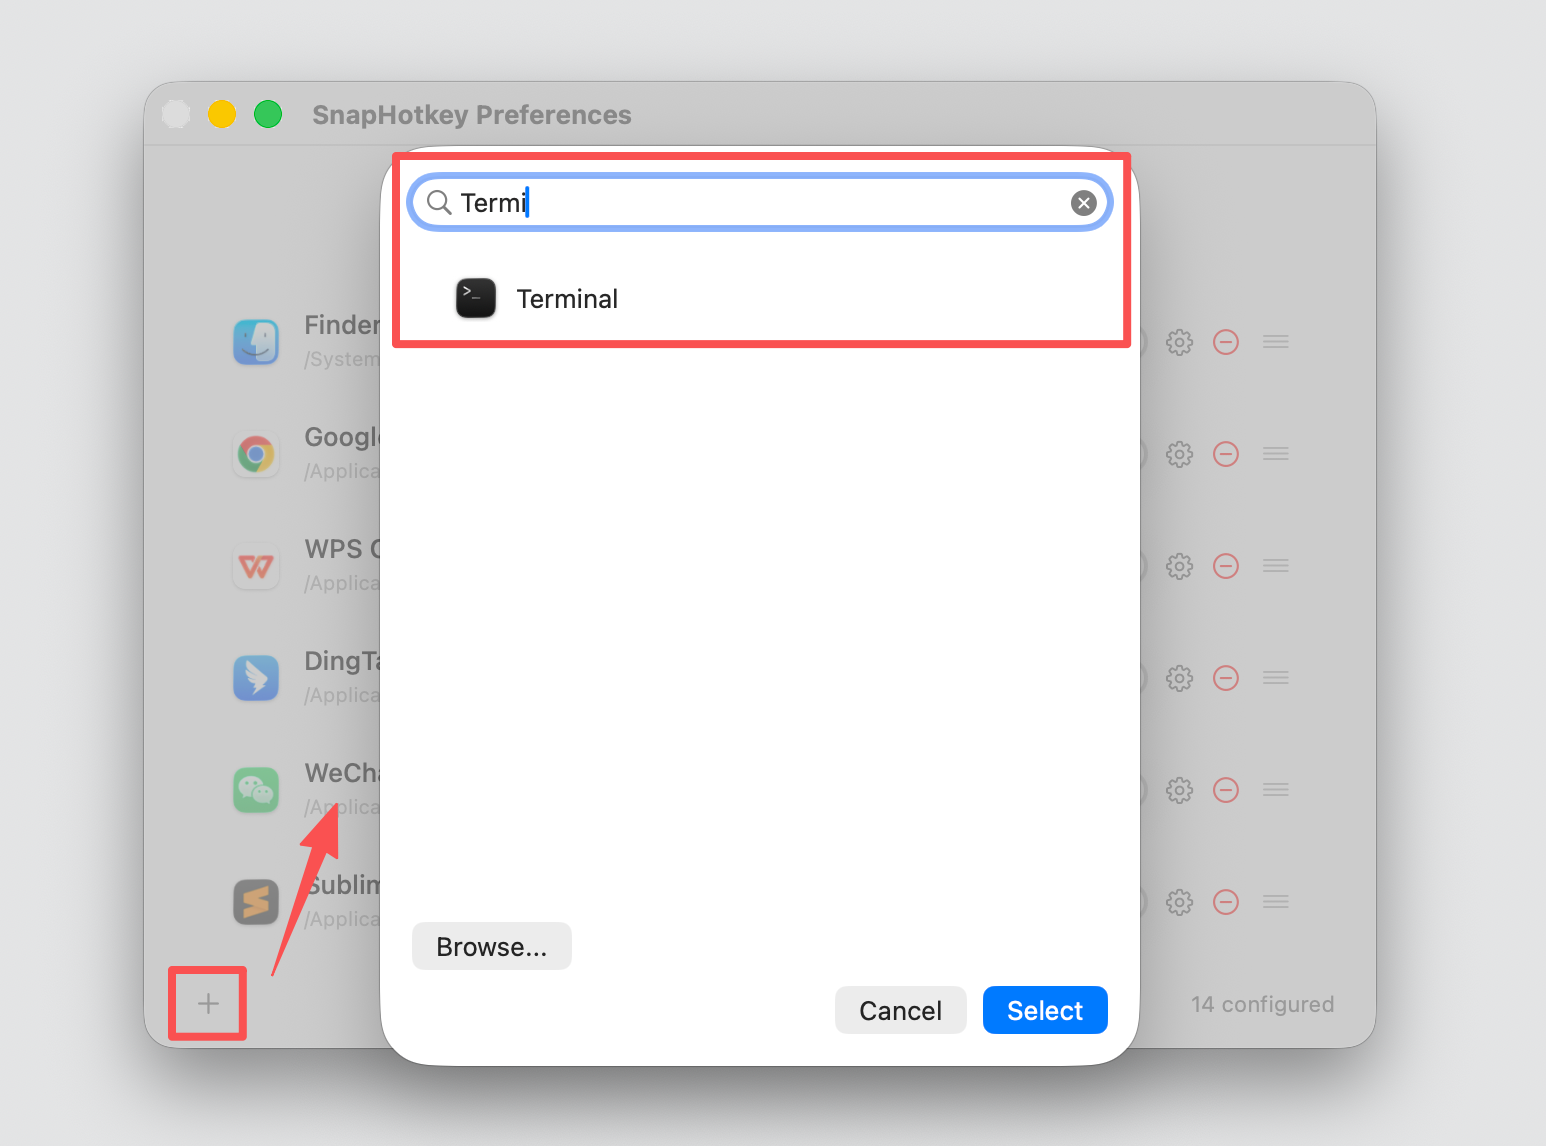
Select it, then click into the shortcut field and record your key. I’ve mapped Terminal to Left Control + the key just below Esc — the classic drop-down-terminal key (it reads ` on a US layout, ^ on some others). One modifier, one key, easy to hit blind.
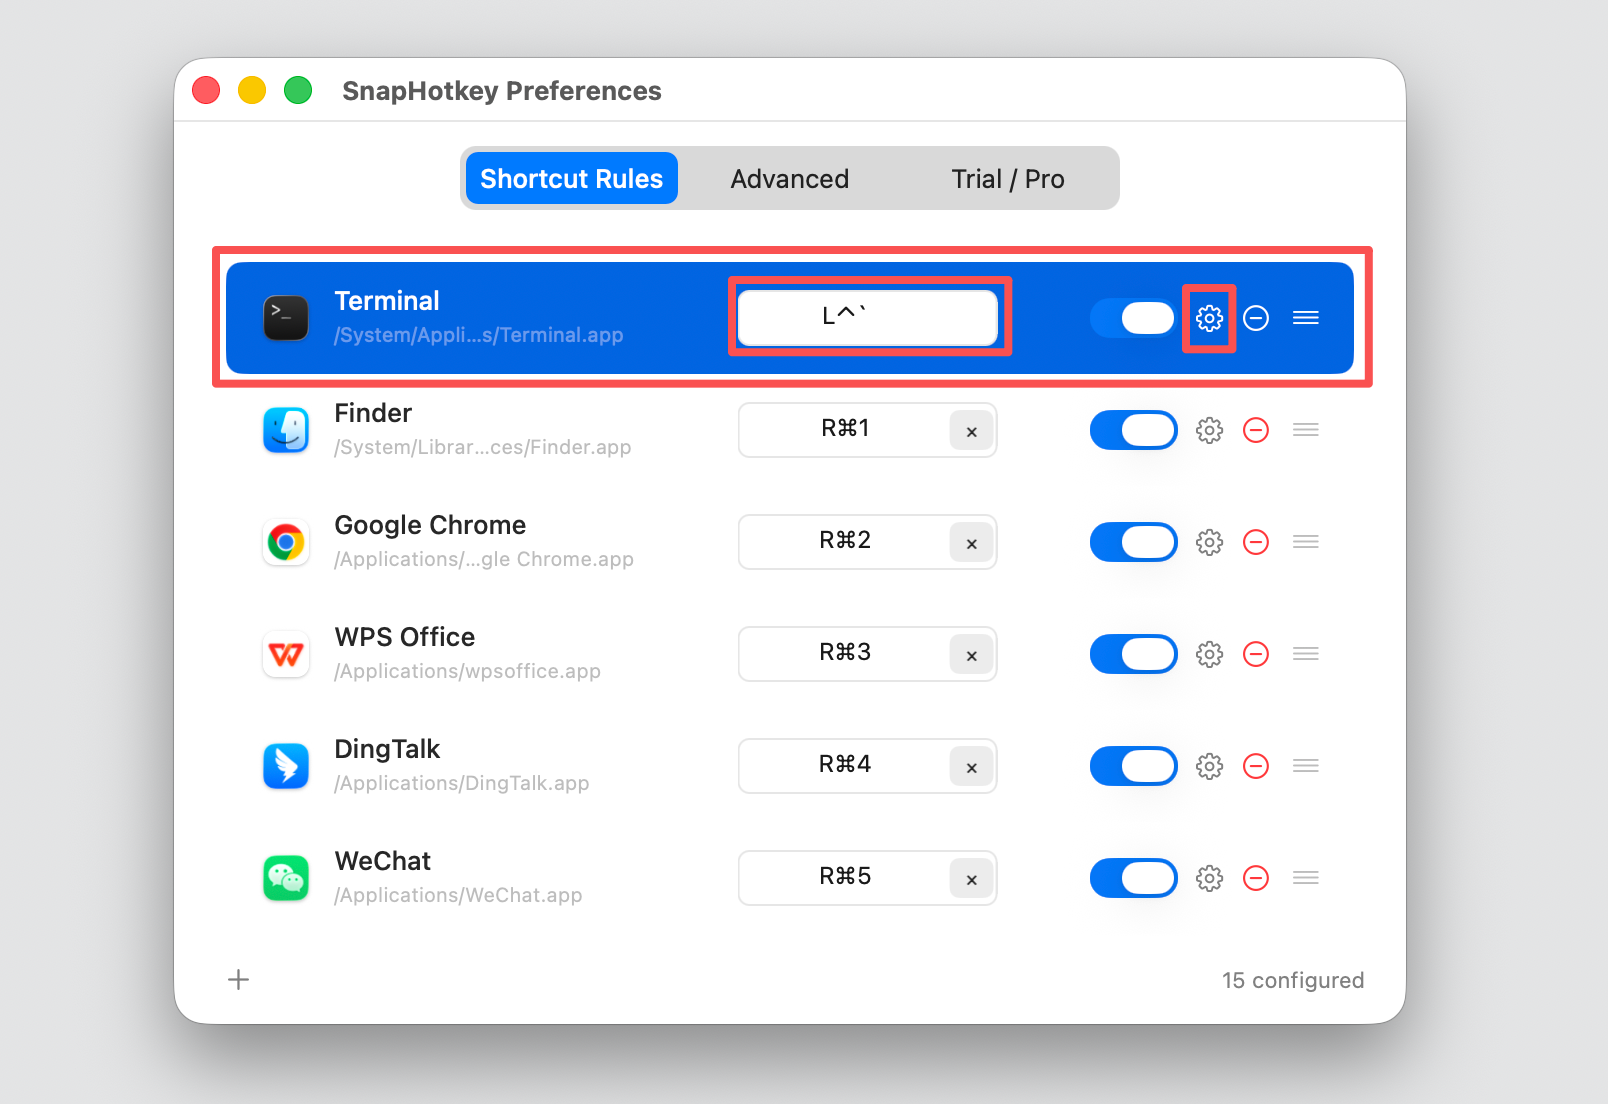
One tip: don’t bind a bare, unmodified key like ` on its own — you’d never be able to type the character again. Keep a modifier in front of it.
Step 3: Turn On Toggle Show/Hide
This is the step that turns a plain launch shortcut into a drop-down terminal. Click the gear on the Terminal row, and under When shortcut is pressed repeatedly choose Toggle show/hide.
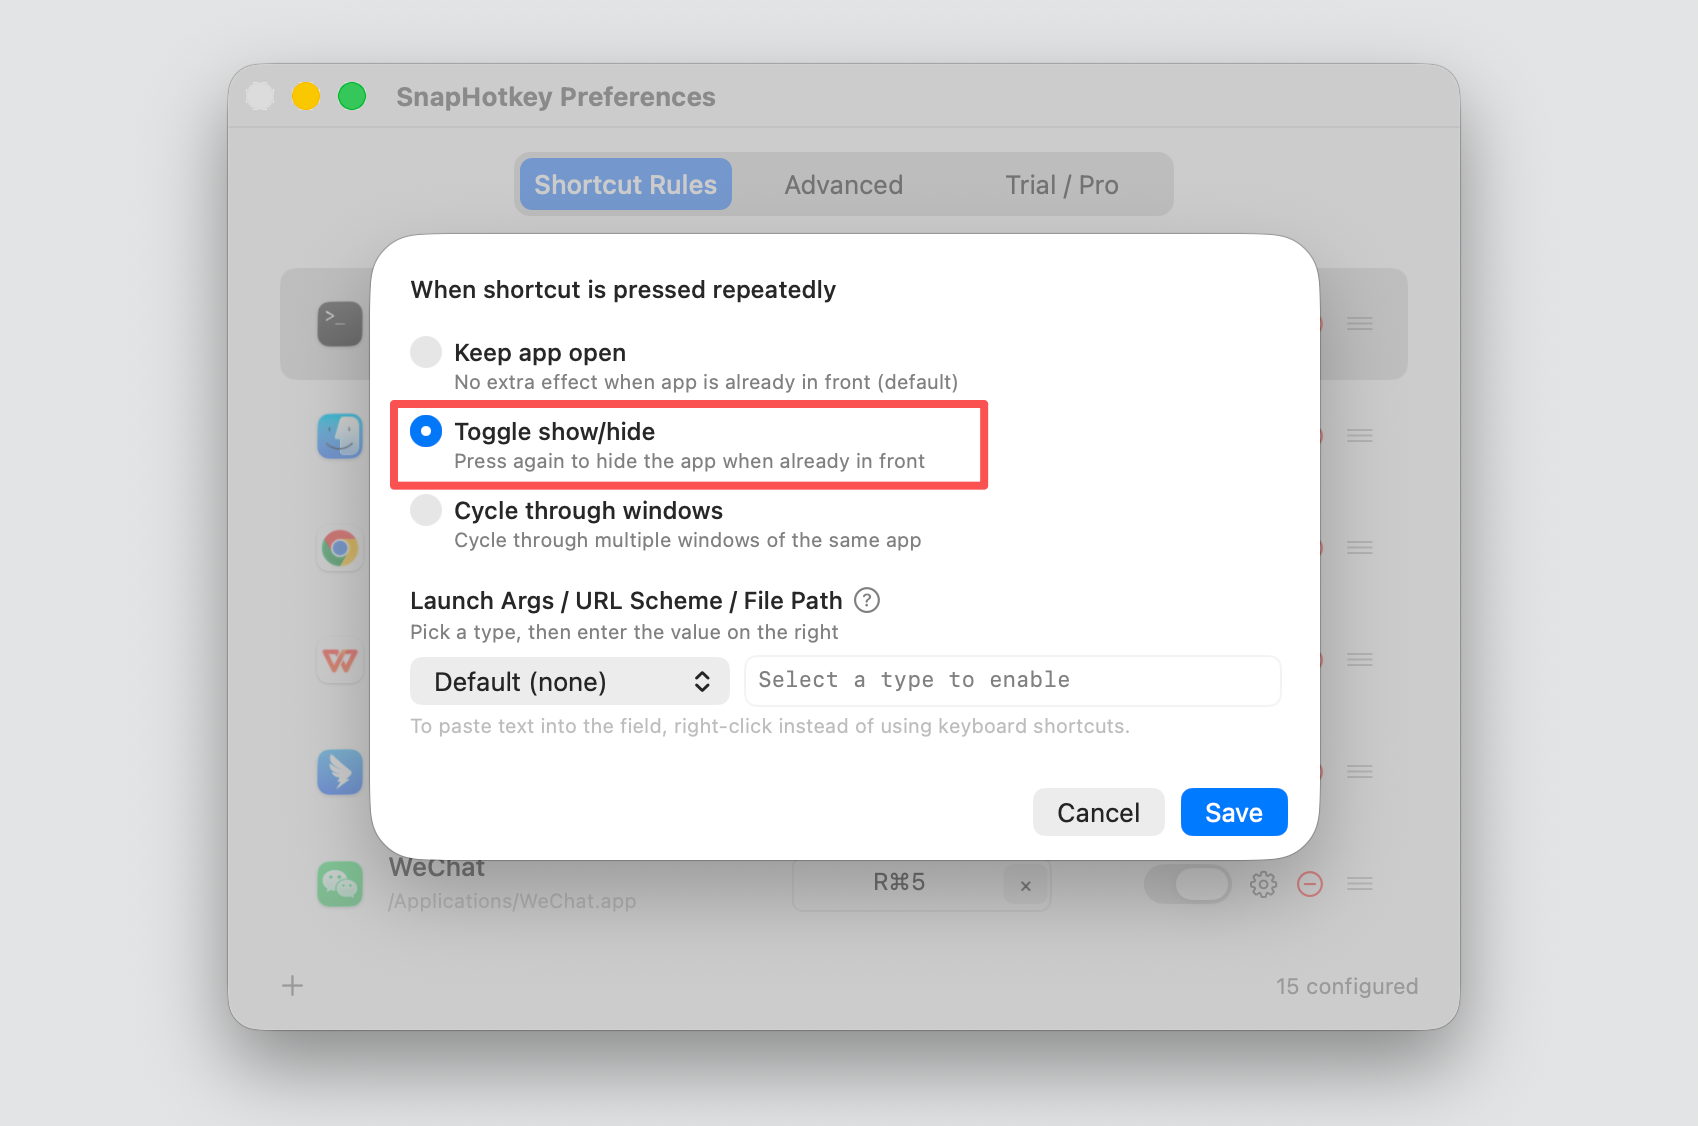
That one radio button is the whole difference. Keep app open would just bring Terminal forward and leave it there. Toggle show/hide makes the same key hide it when it’s already in front — exactly how Guake and Yakuake behave. Hit Save.
Try It — Summon, Dismiss, Repeat
Close Preferences. From any app, press your key.
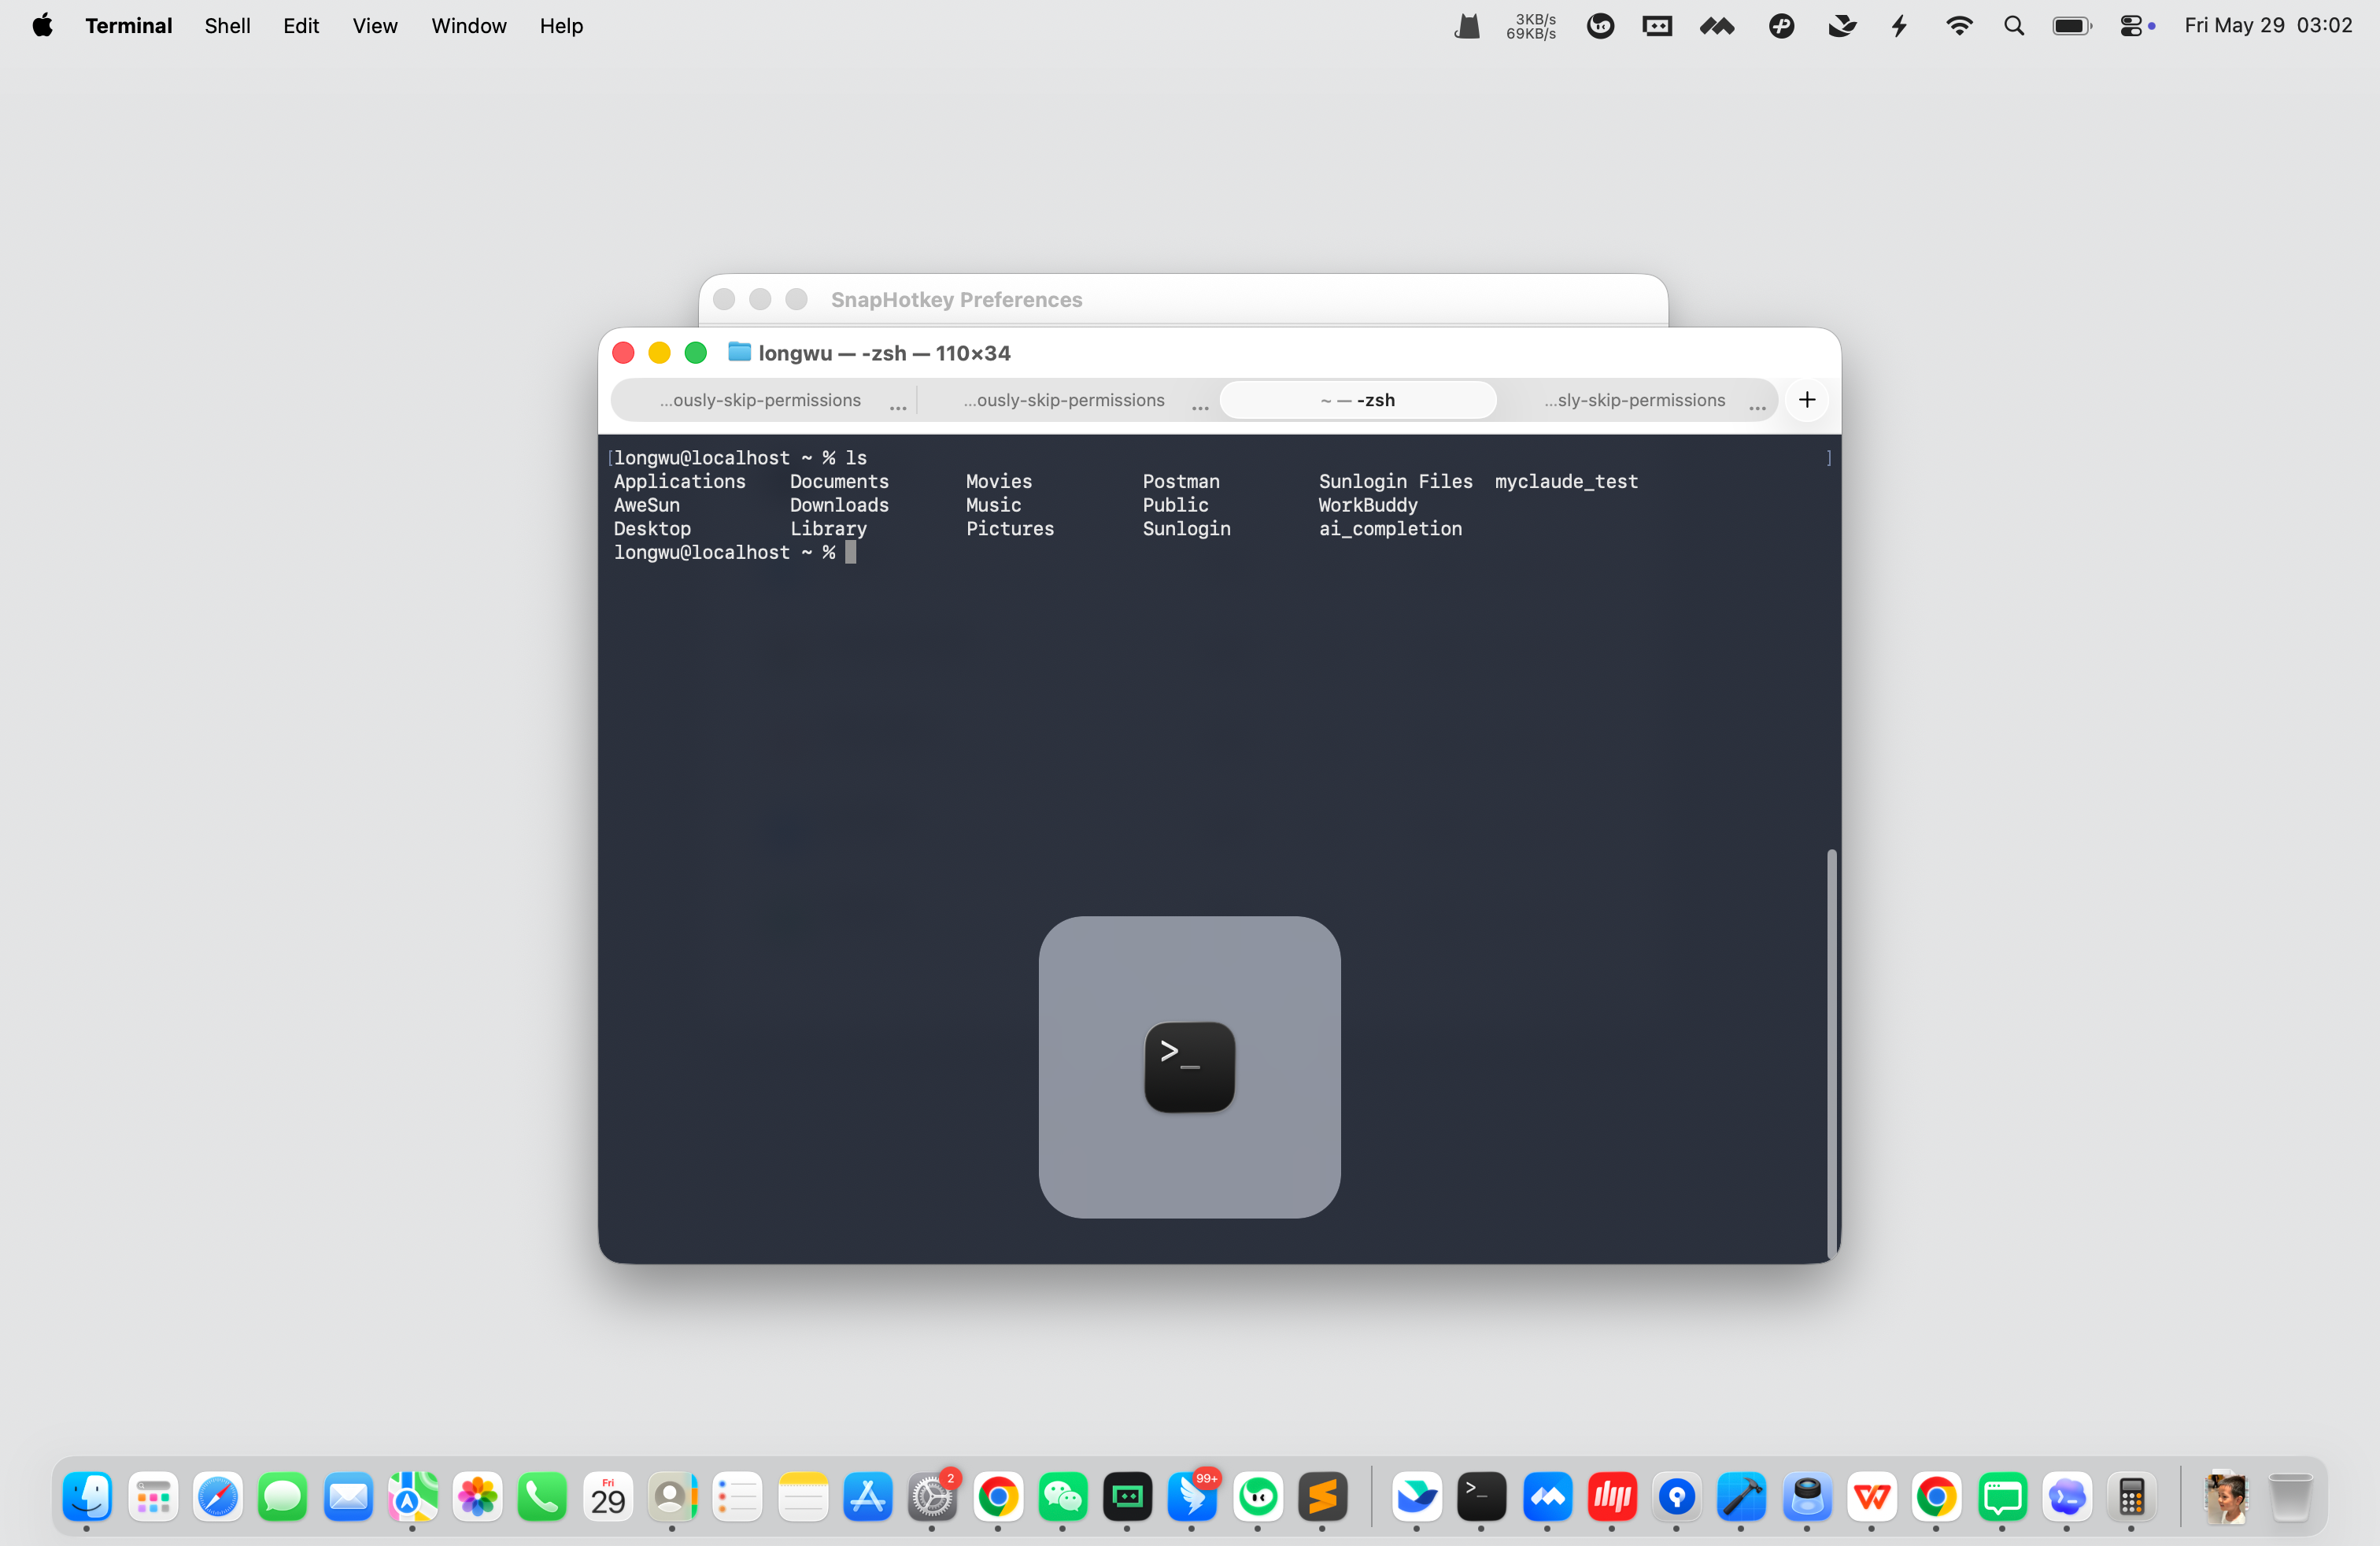
Terminal is in front, ready to type. Run your command. Now press the same key again.
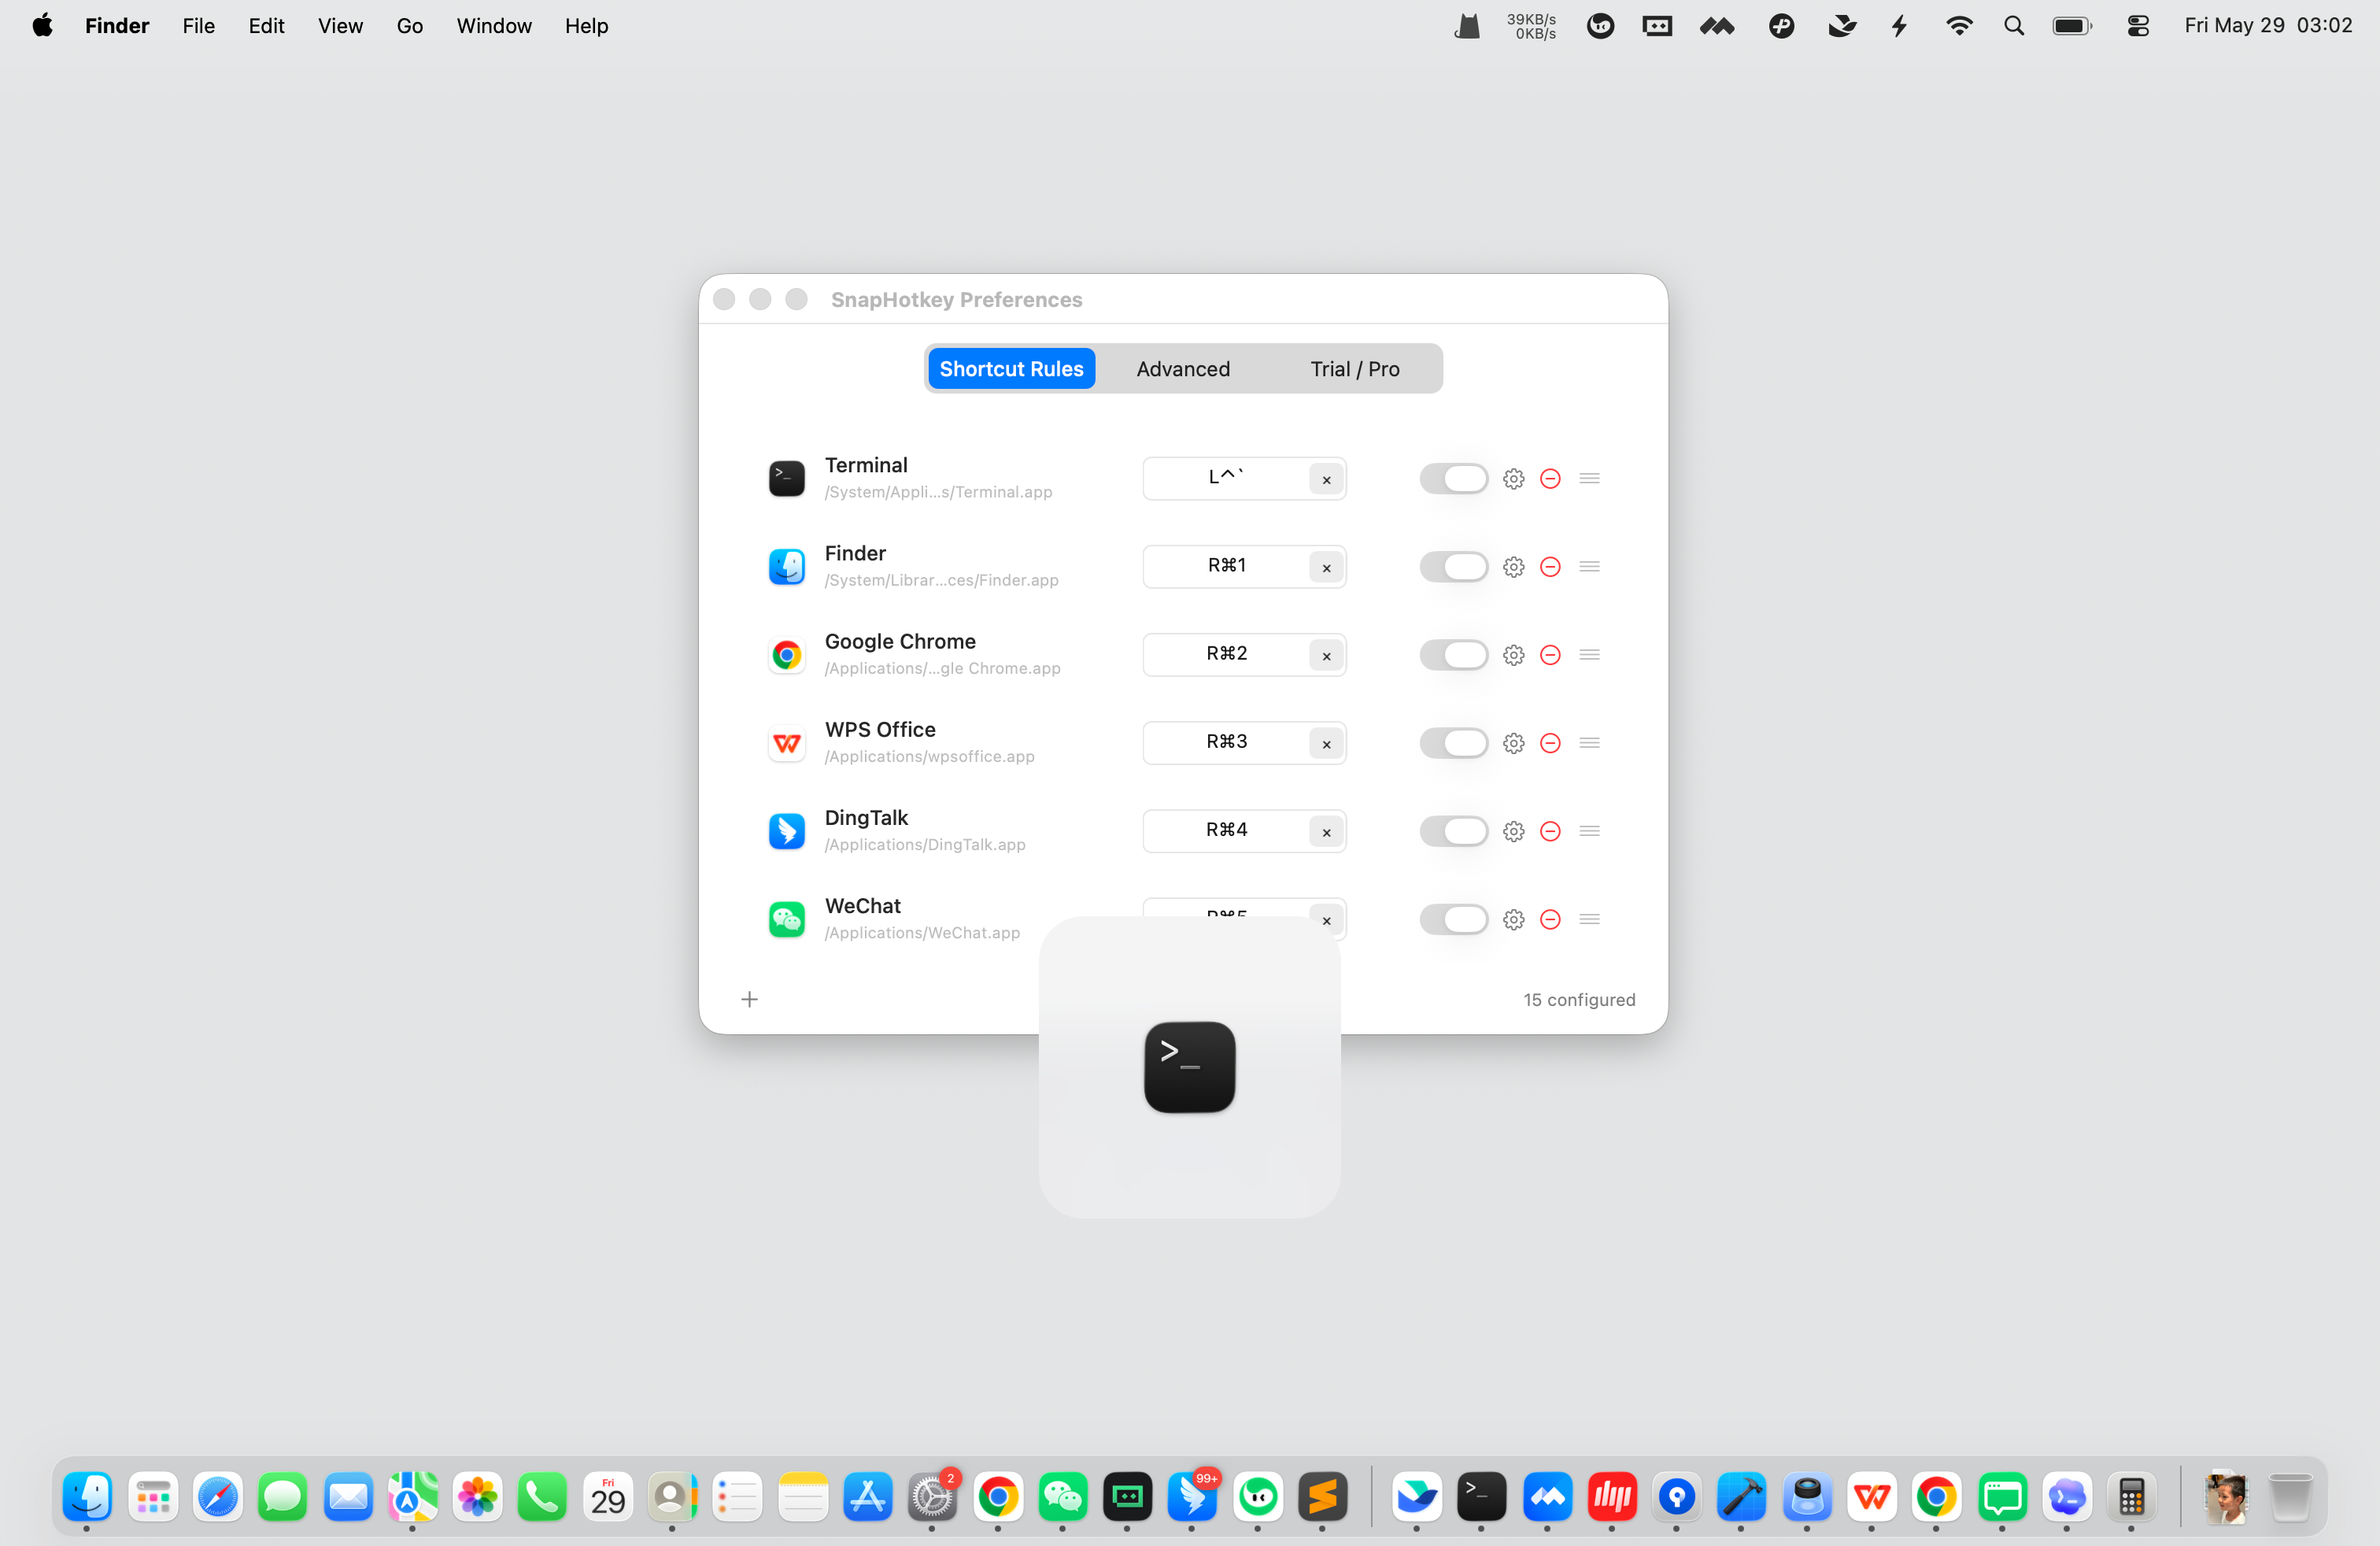
Gone. You’re back where you were. That’s the loop — summon, dismiss, repeat — and it works from inside any app, full-screen or not.
One honest note: there’s no slide-down animation. SnapHotkey toggles the window instantly instead of sliding it in from the top edge. If you were attached to the visual, you’ll miss it for about a day. The instant toggle is faster, and the muscle memory is identical.
Coming from Guake, Yakuake, or Tilda?
If you’re migrating from Linux, the fastest way to keep your reflexes is to bind the same key you used there. If Yakuake lived on F12, put Terminal on an F12-based shortcut. If Guake was on the grave key, use that. Your hands won’t notice they changed operating systems.
And here’s what a dedicated drop-down terminal can’t give you: the same toggle works for every app, not just the shell. Which brings us to the part most people don’t expect.
Already Using iTerm2 or Ghostty?
If you’re on a specific Mac terminal, the answer depends on which one.
iTerm2 has a built-in hotkey window (sometimes called Quake Mode) — go to Settings → Profiles → Keys → Hotkey Window and bind a global key. That works fine if iTerm2 is the only app you want this for.
Ghostty doesn’t ship a built-in quake mode yet — SnapHotkey is the simplest way to get that behavior on it today.
The case for using SnapHotkey even if iTerm2’s built-in works: the same hotkey pattern then applies to every other app, not just the terminal. One mental model, one configuration UI — Slack, Notes, your music app, anything. If a drop-down terminal is the only thing you need, iTerm2’s built-in is fine. If you want a consistent toggle across your whole workflow, SnapHotkey wins.
The Same Trick Works for Every App
Toggle show/hide isn’t terminal-specific. Map it to your chat app and you can peek at Slack and dismiss it with one key instead of Cmd+Tab-ing away. Map it to your notes app for a scratchpad you summon mid-thought. Map it to a music player, a calculator, a reference doc — anything you dip into and out of all day.
One mental model covers all of them: tap to show, tap to hide. The drop-down terminal is just the first place you’ll want it — the toggle pattern itself is one of the higher-leverage habits on macOS once you have it wired up.
If you haven’t set up your first basic shortcut yet, start with how to create a keyboard shortcut to open any app — the same three steps, minus the toggle. And if you want your terminal to open straight into a specific project folder instead of your home directory, that’s a different per-rule trick: deep-launching with a file path.
Download SnapHotkey free → and give your Mac the drop-down terminal it never shipped with.